コンニチハ。iOSエンジニアの渡部です。
iPhone8の情報がちょいちょい出てきましたね。
そろそろAppleの社員がバーにiPhoneを置き忘れていく時期です。
何それ?な人はググってみてください。

画像はフリー素材アイドルさんをお借りしました。
iPhoneユーザで誰もが使う機能、カメラ。
snowのような顔認識やフィルター機能はなかなかハードルが高いですが
カメラ機能を実装するのは結構簡単です。
今日はカメラアプリを作ってみます。
写真を撮って保存するシンプルなカメラです。
手順
1.info.plistでカメラが使えるように設定する
2.必要なオブジェクトを設置
3.ソースをガリガリ
カメラアプリの実行、デバッグは実機でしかできないので注意です。
ソースをガリガリといってもだいたいコピペでできますのでご安心を。
自分はファミマのミニクッキーを食べながら失礼します。
手順にプロジェクト作成は含めません。
今回もSingle View Applicationで作成します。
1.info.plistでカメラが使えるように設定する
これはそのままです。 スクショ通りに追加してください。

右側のテキストはカメラ許可を取る際に表示するメッセージです。
ここは好きな文言を設定してください。
2.必要なオブジェクトを設置
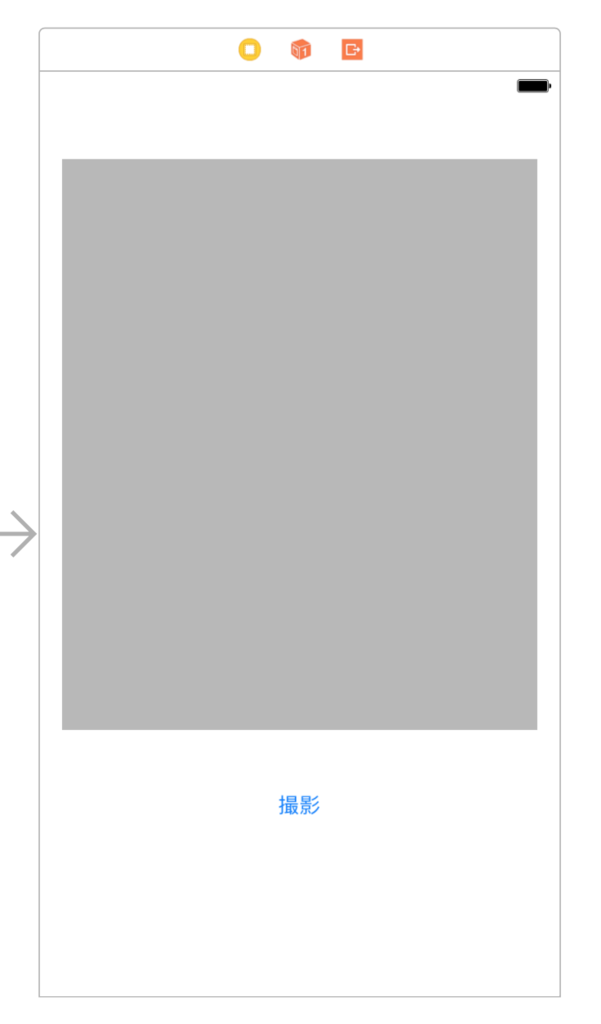
Storyboardで設置していきます。

UIViewとUIButtonを画像の通りに設定します。
UIViewはわかりやすいようにlightgrayにしてあります。
UIViewをOutletで、UIButtonをActionでソースに紐づけます。
3.ソースをガリガリ
あとはガリガリ書きます。
まずはimport、Outlet、Actionの追加です。
デリゲートの追加も忘れずに。
import UIKit
import AVFoundation

class ViewController: UIViewController, AVCapturePhotoCaptureDelegate {

    @IBOutlet weak var cameraView: UIView!

    override func viewDidLoad() {
        super.viewDidLoad()
    }

    /// 撮影ボタン押下時に呼ばれる
    @IBAction func cameraButtonTapped(_ sender: Any) {
    }
カメラ起動をviewDidLoadに記述します。
本当はviewDidAppearの方が適切だと思われますが今回は(面倒なので)おけーです。
viewDidLoadの前にAVCaptureSessionたちも追加します。
これがないと起動しません。
    var captureSesssion: AVCaptureSession!
    var stillImageOutput: AVCapturePhotoOutput?
    var previewLayer: AVCaptureVideoPreviewLayer?

    override func viewDidLoad() {
        super.viewDidLoad()

        captureSesssion = AVCaptureSession()
        stillImageOutput = AVCapturePhotoOutput()

        // 解像度の設定
        captureSesssion.sessionPreset = AVCaptureSessionPreset1920x1080

        let device = AVCaptureDevice.defaultDevice(withMediaType: AVMediaTypeVideo)

        do {
            let input = try AVCaptureDeviceInput(device: device)

            // 入力
            if (captureSesssion.canAddInput(input)) {
                captureSesssion.addInput(input)

                // 出力
                if (captureSesssion.canAddOutput(stillImageOutput)) {

                    // カメラ起動
                    captureSesssion.addOutput(stillImageOutput)
                    captureSesssion.startRunning()

                    // アスペクト比、カメラの向き(縦)
                    previewLayer = AVCaptureVideoPreviewLayer(session: captureSesssion)
                    previewLayer?.videoGravity = AVLayerVideoGravityResizeAspect // アスペクトフィット
                    previewLayer?.connection.videoOrientation = AVCaptureVideoOrientation.portrait

                    cameraView.layer.addSublayer(previewLayer!)

                    // ビューのサイズの調整
                    previewLayer?.position = CGPoint(x: self.cameraView.frame.width / 2, y: self.cameraView.frame.height / 2)
                    previewLayer?.bounds = cameraView.frame
                }
            }
        }
        catch {
            print(error)
        }
    }
撮影ボタンです。
ボタン押下で撮影します。
     /// 撮影ボタン押下時に呼ばれる
    @IBAction func cameraButtonTapped(_ sender: Any) {

        // カメラの設定
        let settingsForMonitoring = AVCapturePhotoSettings()
        settingsForMonitoring.flashMode = .auto
        settingsForMonitoring.isAutoStillImageStabilizationEnabled = true
        settingsForMonitoring.isHighResolutionPhotoEnabled = false

        // 撮影
        stillImageOutput?.capturePhoto(with: settingsForMonitoring, delegate: self)
    }
最後に写真の保存です。
今回はベタにJPEG形式で保存してます。
    /// カメラで撮影完了時にフォトライブラリに保存
    func capture(_ captureOutput: AVCapturePhotoOutput, didFinishProcessingPhotoSampleBuffer photoSampleBuffer: CMSampleBuffer?, previewPhotoSampleBuffer: CMSampleBuffer?, resolvedSettings: AVCaptureResolvedPhotoSettings, bracketSettings: AVCaptureBracketedStillImageSettings?, error: Error?) {

        if let photoSampleBuffer = photoSampleBuffer {

            // JPEG形式で画像データを取得
            let photoData = AVCapturePhotoOutput.jpegPhotoDataRepresentation(forJPEGSampleBuffer: photoSampleBuffer, previewPhotoSampleBuffer: previewPhotoSampleBuffer)

            let image = UIImage(data: photoData!)

            // フォトライブラリに保存
            UIImageWriteToSavedPhotosAlbum(image!, nil, nil, nil)
        }
    }
少しソースが多いですがまるっとコピペでちゃんと動きます。
起動すると・・・

先ほど「1.info.plistでカメラが使えるように設定する」で設定したメッセージが表示されます。 もちろん許可してください。
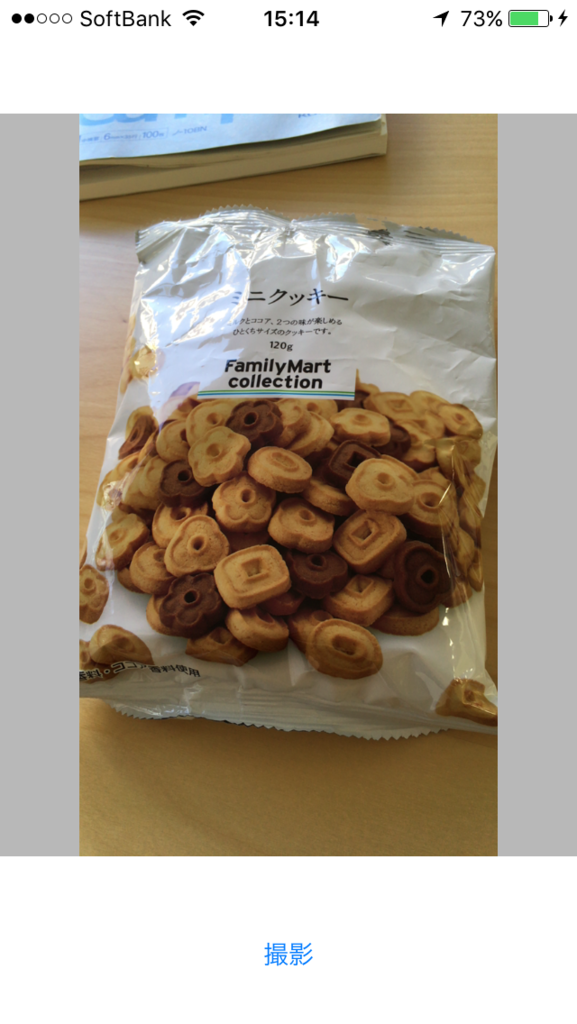
画面はこんな感じ。

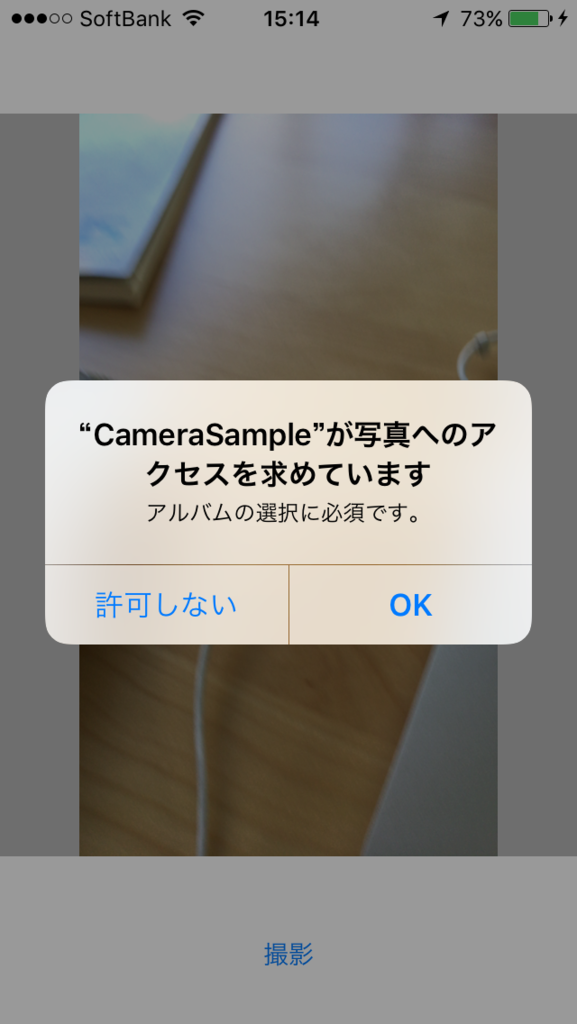
撮影すると保存の許可を求めるメッセージが表示されます。
これも「1.info.plistでカメラが使えるように設定する」で設定したものです。

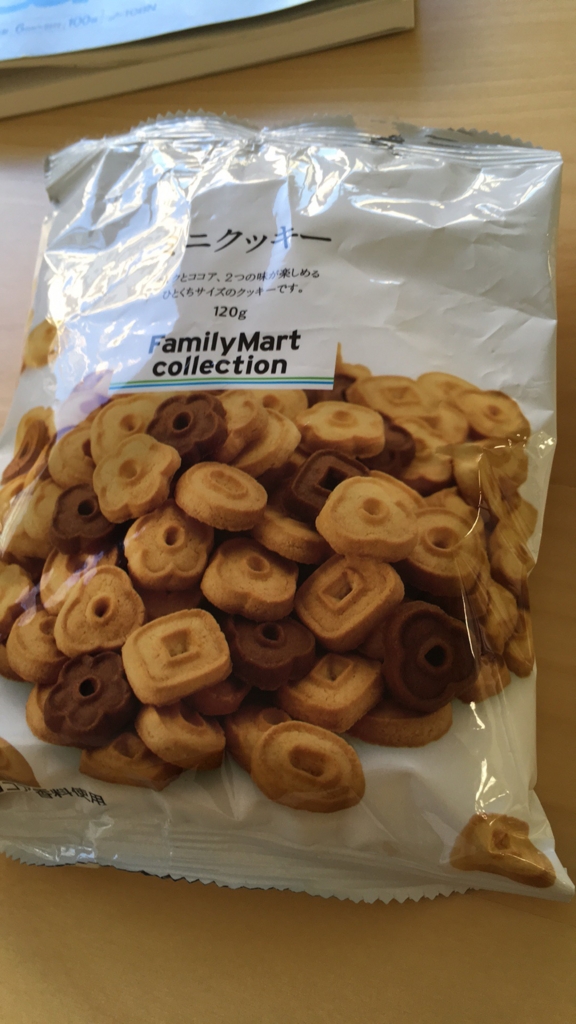
ちゃんと保存されてます。

まとめ
今回はカメラの起動から写真の保存まででしたが
売れるアプリにするには一工夫ないとダメです。
いずれ顔認識や色々なフィルターの記事も書こうと思います。
今まさにプライベートでカメラアプリを作っていたので
いい復習になりました。
ファミマのお菓子最高ですね。では。