Being a programmer I can't stop myself greeting you with Hello World so

Do you want to tell the world about all the great things you are building?
Well, GitHub Pages might help you to do that.
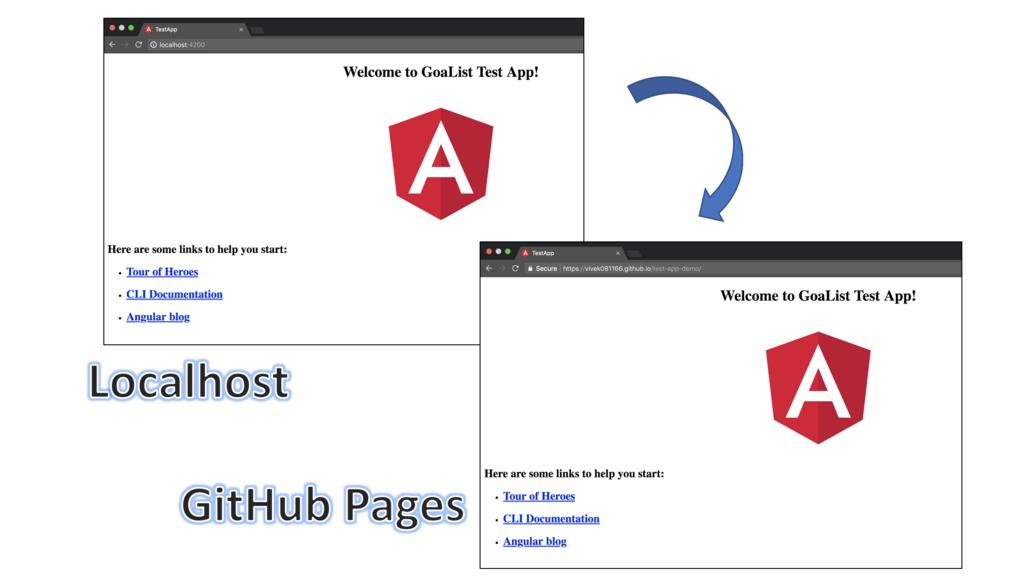
In this blog, I would like to share the process of bringing your Angular app from local to the internet
http://localhost:4200 ==> https://<username>.github.io/<repository-name>
Let's walk through the following steps to deploy our test-app on GitHub Pages

So let's get started...
Step 1 : Build your Angular app
With Angular CLI, using the following command; build your Angular app
ng build
After building your app all we need is the contents of the dist folder

Step 2 : Create a repository
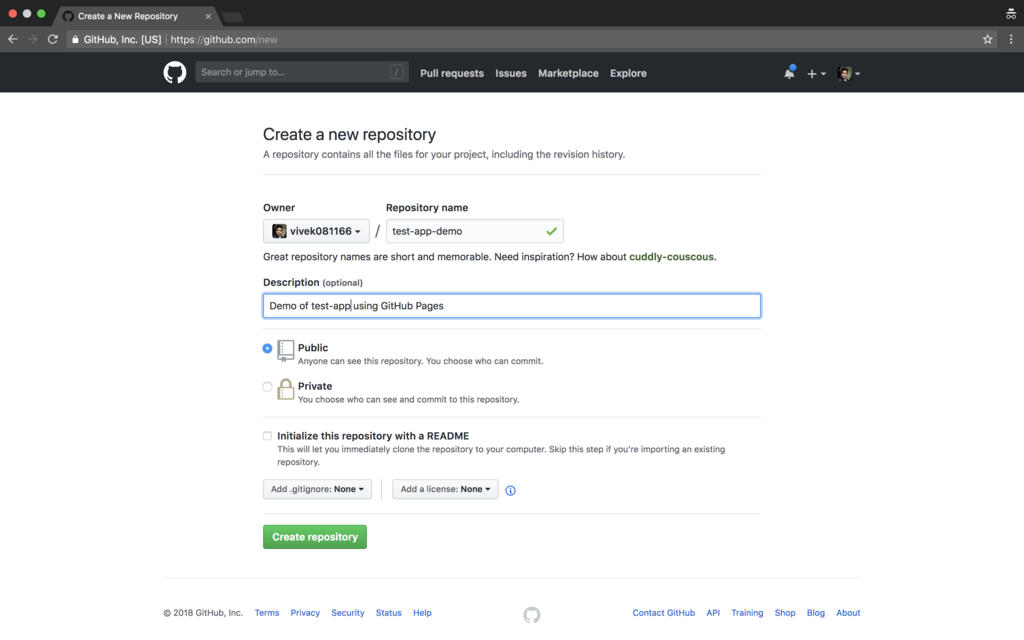
For the purpose of demoing your app, it is good idea to have a separate repository.
So, let's create one for our test-app and name it as test-app-demo

Step 3 : Initialize repository for file upload
The simplest way to initialize files upload via GitHub will be to add .gitignore to your repository.

and commit your file

Step 4 : Upload your build files
Having done the previous step you can now upload the build files via GitHub
Click the Upload Files button on master branch

Drag your build files here or simply click choose your files

Go to the project source folder and choose dist folder


Select all the build content and upload

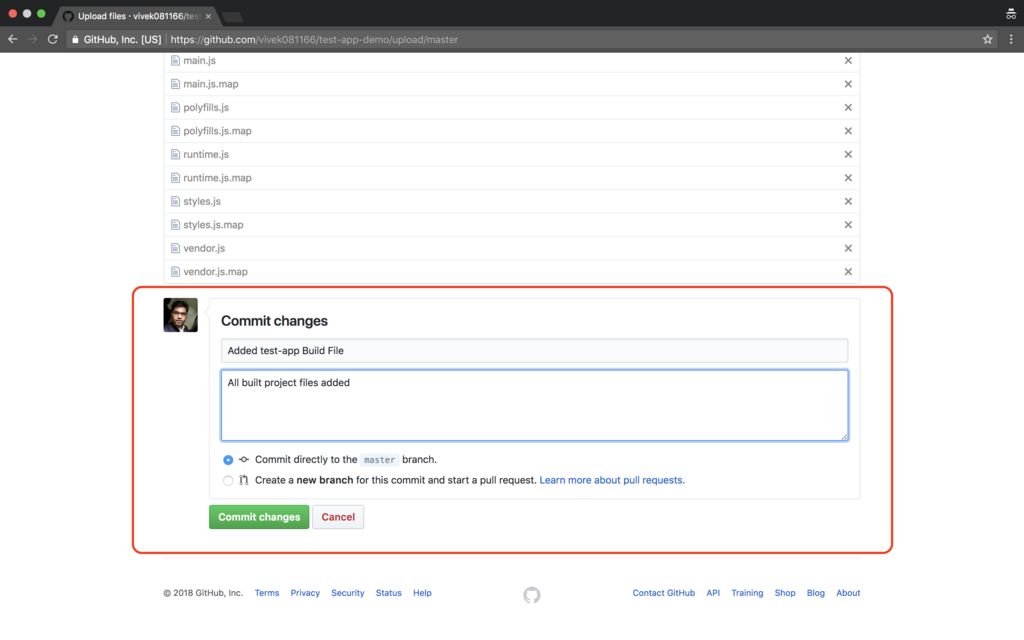
Commit your uploaded file to mater-branch

Step 5 : Update the base URL
Since we uploaded build files into the separate repository, we need to update the base URL to let angular know about the root directory
Update index.html file

Change base tag from
<base href="/">
to the name of the repository
<base href="/test-app-demo/">


Step 6 : Set up the GitHub Pages
This is the final step and we are almost done!
Navigate to the Settings tab of the repository for setting up a GitHub Page for our Angular app
Settings option is only visible to the owner of the repository

scroll down a little and you are almost there...


Select master-branch as the source of GitHub Pages

Save the changes and you are done!!

しばらくお待ちください。。。
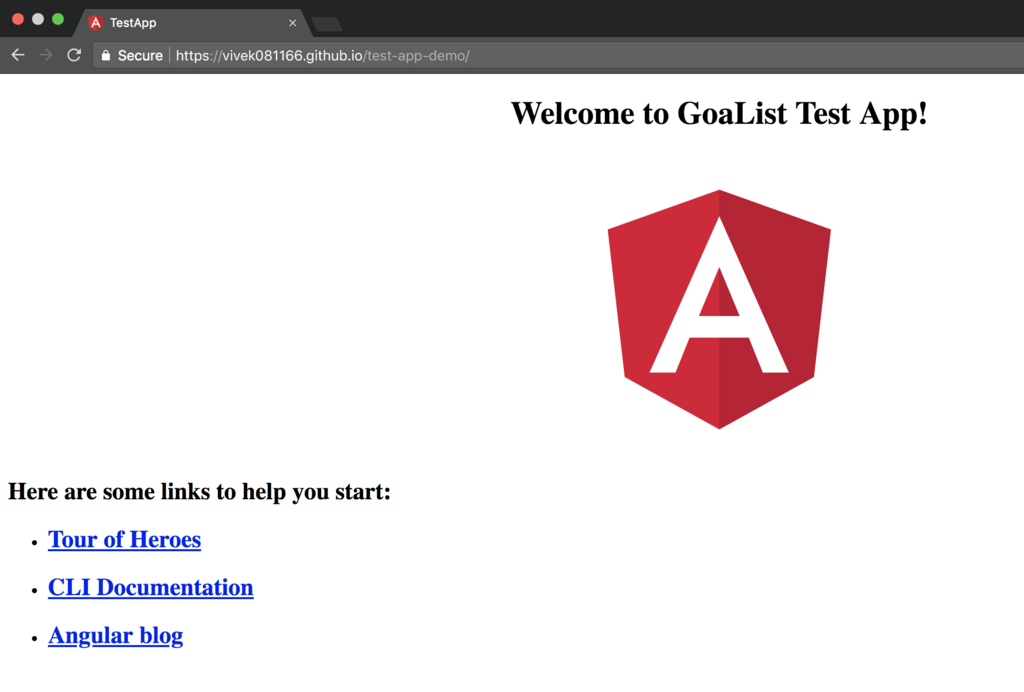
Wait while GitHub sets up everything for you and holla!! your app is live

Your app will be live on the web address shown in the GitHub Pages' section.
https://<username>.github.io/<repository-name>
Yes!! we did it.

Thank you very much for reading all to the end.
I'll be coming back soon with another such topic.
Till then
Happy Learning :)